tie dye with household bleach
Place your shirt on a protected surface in a well-ventilated area. Keep cleaning it until the water turns clear.

How To Tie Dye With Bleach Youtube
You can use more or less rubber bands depending on how much of the bleach dye design youd like to show.
. Soak your shirt in water and rinse it while keeping it wet. For reverse tie dyeing a napkin bandana or other small item youd only need 10-15 ounces. Make sure youre wearing old clothes yourself in case any bleach gets on it.
Pinch the middle and then start turning twisting and scrunching it in one direction. Once the dye powder is mixed in add the remaining water and shake again. You may see some dye in the rinse water.
Locate your spray bottle. Keep twisting in the same direction until the whole piece of fabric is wrapped into a spiral shape. Then put the cloth in a bucket containing bleach mixed with water for a time of 15-30 minutes.
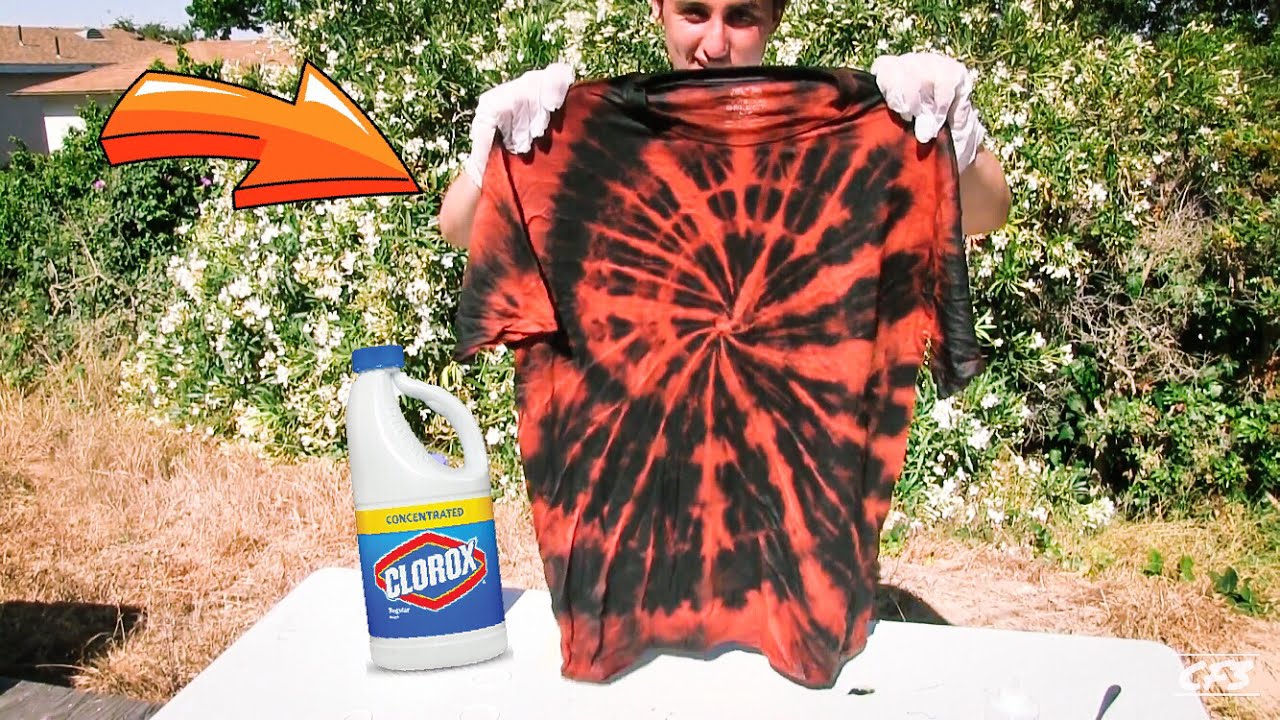
Crumple Dye Technique. Sometimes people take reverse tie-dyeing to the next level by starting with a black. This folding technique creates the traditional spiral design that you see on a lot of rainbow tie-dye t-shirts.
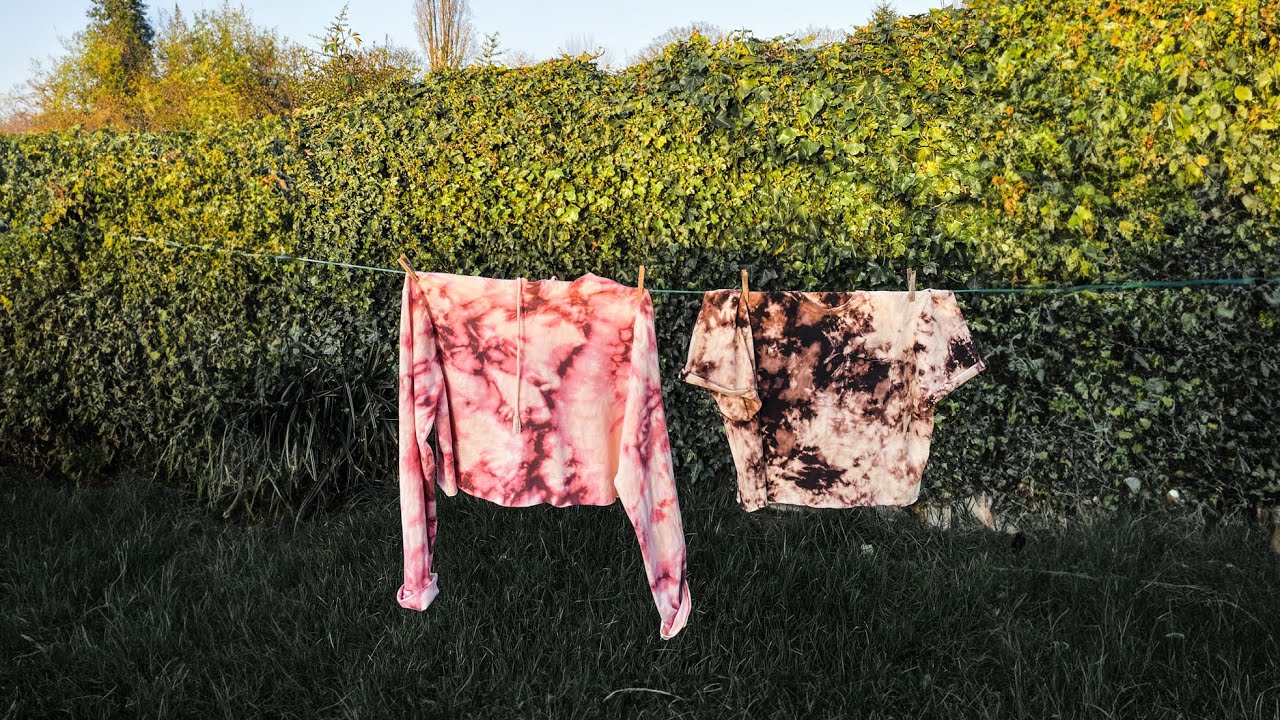
Both methods produce the unique cloudy pattern tie-dye is known for. Grab an old shirt that you dont care for anymore. Then add the folded fabric pieces from step 1 into the bleach and make sure they are fully submerged.
Rinse until the water is clear and most of the bleach is out. If the bottle has an adjustable nozzle make sure its on the spray setting and not stream. We used 4 rubber bands for 8 sections.
You can spray as much or as little as you like. Next spray the front of your t-shirt with the bleach-and-water solution. Secure the fabric with 3 or more rubber bands.
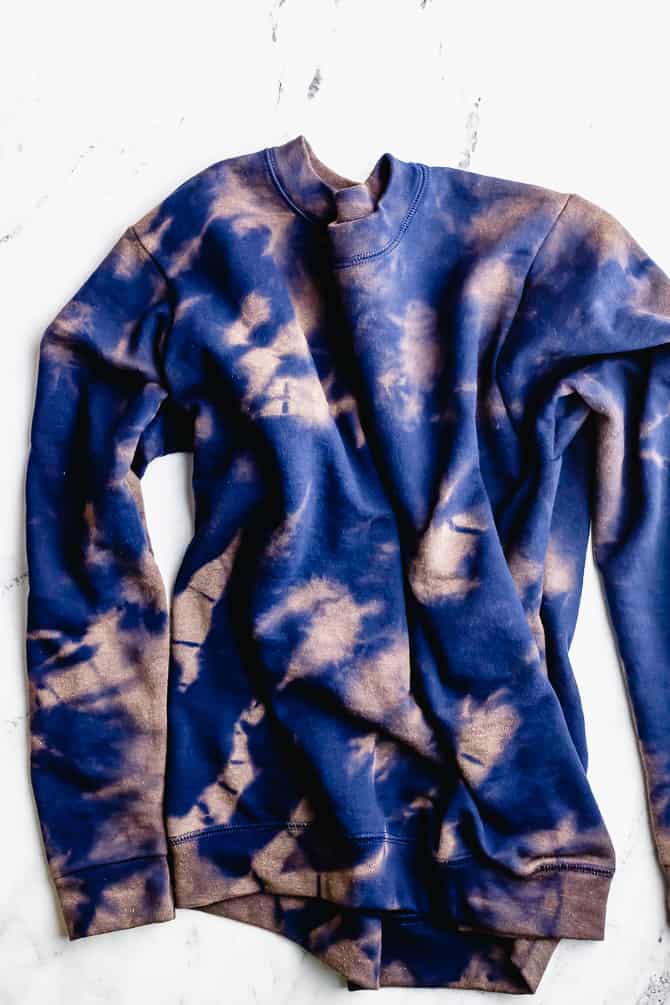
Cover the entire surface so you get the best results. Reverse tie-dyeing or bleach tie-dye is creating the tie-dye look by removing color pigments with bleach. Leave the bleach on no longer than 20-minutes.
Just enough to fully submerge your item. Once it is all bunched up use rubber bands to secure it in place creating pie pieces. After 30-60 minutes rinse the fabric under cold water and then dip it in a neutralizing bath.
Twist or scrunch sections of the sheets and pillows and secure them with rubber bands. Rinse well until you dont smell the bleach much anymore. Make sure its clean and ready to go.
Fold or crumple the shirt in your desired pattern. Once its ready rinse it thoroughly and wash it. Then wrap a rubber band every 1-2 inches once folded.
Then pour a diluted bleach mixture on the fabric. Then scrunch the shirt by starting at the bottom and going downwards. The goal here is to create a random pattern which is why its so fun and easy to craft.
This technique can produce edgy and gorgeous clothing and accessories worthy of a summer night out. Add one part bleach and three parts water to your spray bottle and then shake gently to mix. Make sure you cover the entire surface with spray to ensure the best results.
Tie dyeing with bleach is a fantastic alternative to traditional tie dye patterns. Doing that initial half fill and shake makes it much easier to get the dye evenly mixed into the water and actually ends up saving a little time. Now mix equal parts bleach water.
The scrunch bleach tie-dye technique is tried and tested in lots of dye designs. Let it soak in for 5-20 minutes until the color starts to get removed. Use approximately half a cup of detergent for this process.
You can just drizzle it over if you do straight lines they will show up. Set a timer for anywhere from 2 minutes to 20 minutes. Youll notice that it immediately changes the color of the sheets to brown in the.
If your bottle has an adjustable nozzle set it to spray. Spray the bleach mix onto the fabric. To create varying degrees of lightness you can spray a little bleach onto the fabric wait a few minutes and then spray more bleach onto the fabric.
Dont be afraid to experiment when it comes to patterns. Fill the spray bottle with equal parts water and bleach. Bleach tie-dye is a GREAT way to upcycle black shirts that have been stained.
Apply bleach with squirt bottle or soak shirt in a bleach solution. It is not at all difficult to try reverse tie dye when you know how to do it. I used many rubber bands as you can see below.
Both these patterns can be applied for bleach tie dye crafts. Prepare your shirt for dyeing. I go over the specific instructions for each shirt pattern below with the step by step instructions for bleach tie dye for the scrunched pattern.
Wash and dry your reverse tie-dye shirt. The first step is to fold your dark color shirt for the most contrast and best results use black navy or gray. Then you can remove the rubber bands.
Cover one side and then flip over and cover the other side. Wash in cool water. Secure the shirt with rubber bands.
Using your fingers pinch the center of the fabric and twist. Before you get started. Fill the dye bottle only halfway then secure the top and shake it.
This is one of the simplest ways to dye. Break Out the Bleach. Once youve removed some color you can add in some new ones.
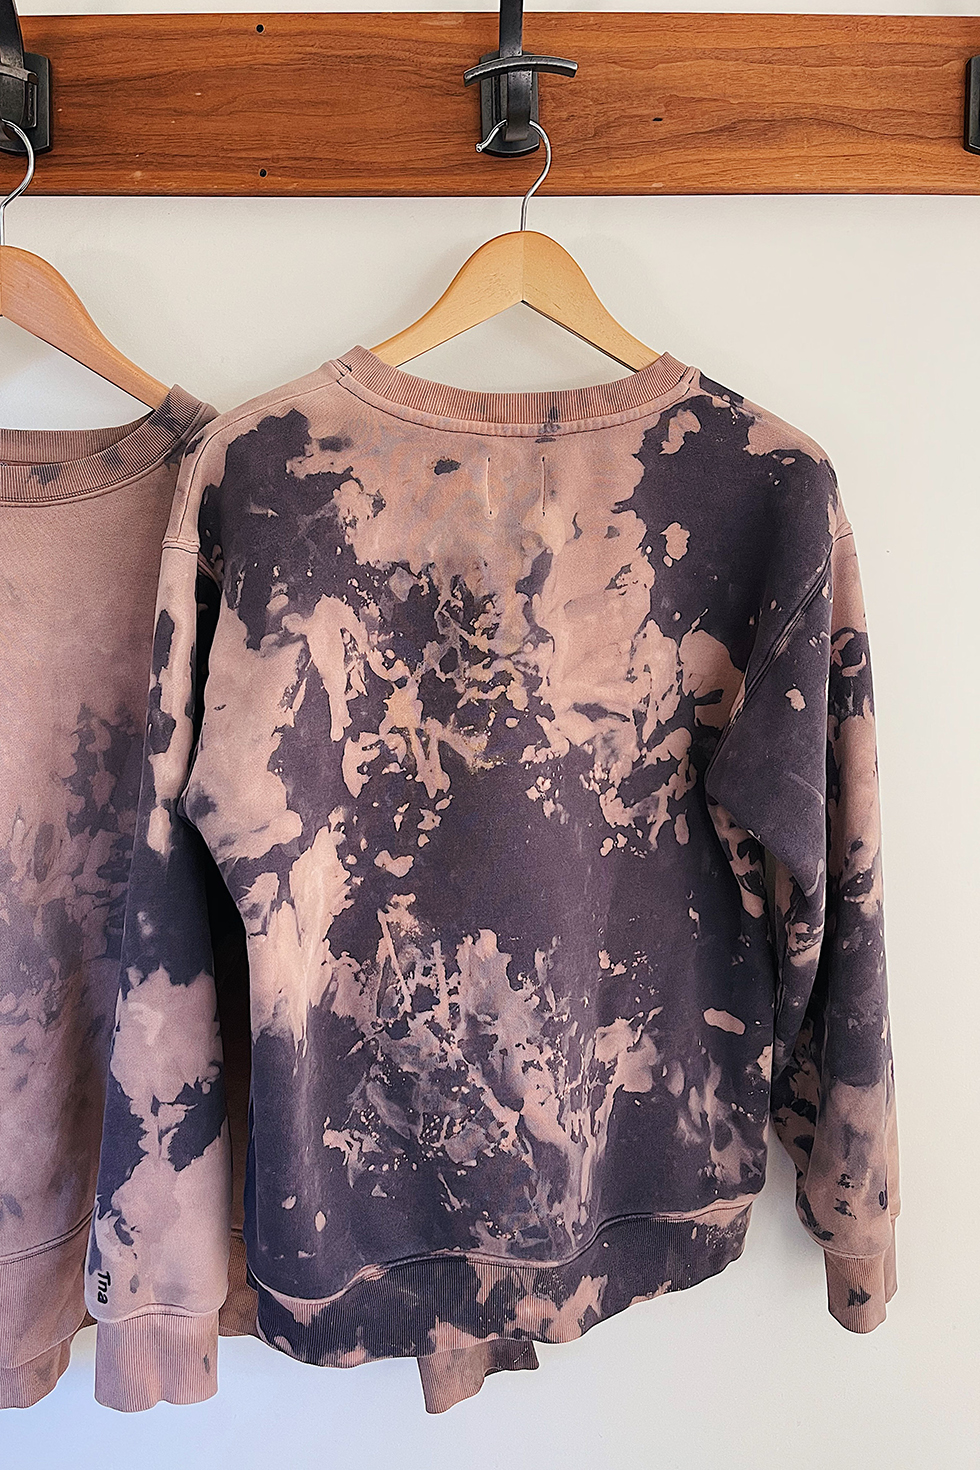
Crumpled up sweatshirt with rubber bands. Rinse well again as soon as the bands are off. Then rinse the cloth well.
Neutralize the bleach by pouring hydrogen peroxide on the shirt. Wear gloves or use tongs to flip it over You can saturate the fabric. Place rubber bands in varying sizes all around the sweatshirt including the front and back of the sleeves cuffs and the bottom ribbing.
Rinse out and open up the shirt under cold water. Discover a variety of bleach tie dye patterns in this collection. Twist the shirt haphazardly and add 2 or 3 rubber bands.
Then gently shake it to mix the solution. Apply the bleach solution to the shirt. Rinse the bleach from the shirt using this warm water.
Put on gloves and spray the 1-to-1 bleach mix over sections of your sheets. Traditional tie-dye involves color to being added to a canvas instead of removed. You could bleach in a spray bottle and.
The method is similar to tie-dye with color except it is WAY faster. This stunning reverse tie dye technique produces gorgeous results. The only effort you have to put is to make aggregates or wrinkles of the cloth piece in the regions you want and then tie it up with a rubber band.
All you have to do is fold the shirt accordion style starting from the bottom corner and towards the opposite top corner. Next carefully spray the front of the shirt with the solution. Pour it on the shirt while it is in the rinsing station.
Let the bleach solution react for 15-30 minutes. Mix one part bleach and three parts water to your spray bottle.
How To Bleach Dye Youtube
How To Bleach Tie Dye A Sweatshirt Easy Diy Sarah Maker

How To Tie Dye With Bleach 3 Easy Techniques For Reverse Tie

Diy How To Bleach Tie Dye Sarah Scoop

Bleach Tie Dye A K A Reverse Tie Dye Chaotically Yours
Diy Bleach Ice Dye Honestly Wtf
How To Make Bleach Tie Dye Crop Tops Youtube

Reverse Tie Dye Diy Take Off Your Party Dress

Bleach Tie Dye Wonder What It Would Look Like If You Dipped It In Orange Dye Afterward Diy Tie Dye Shirts Tie Dye Diy Tie Dye Shirts Patterns


Comments
Post a Comment